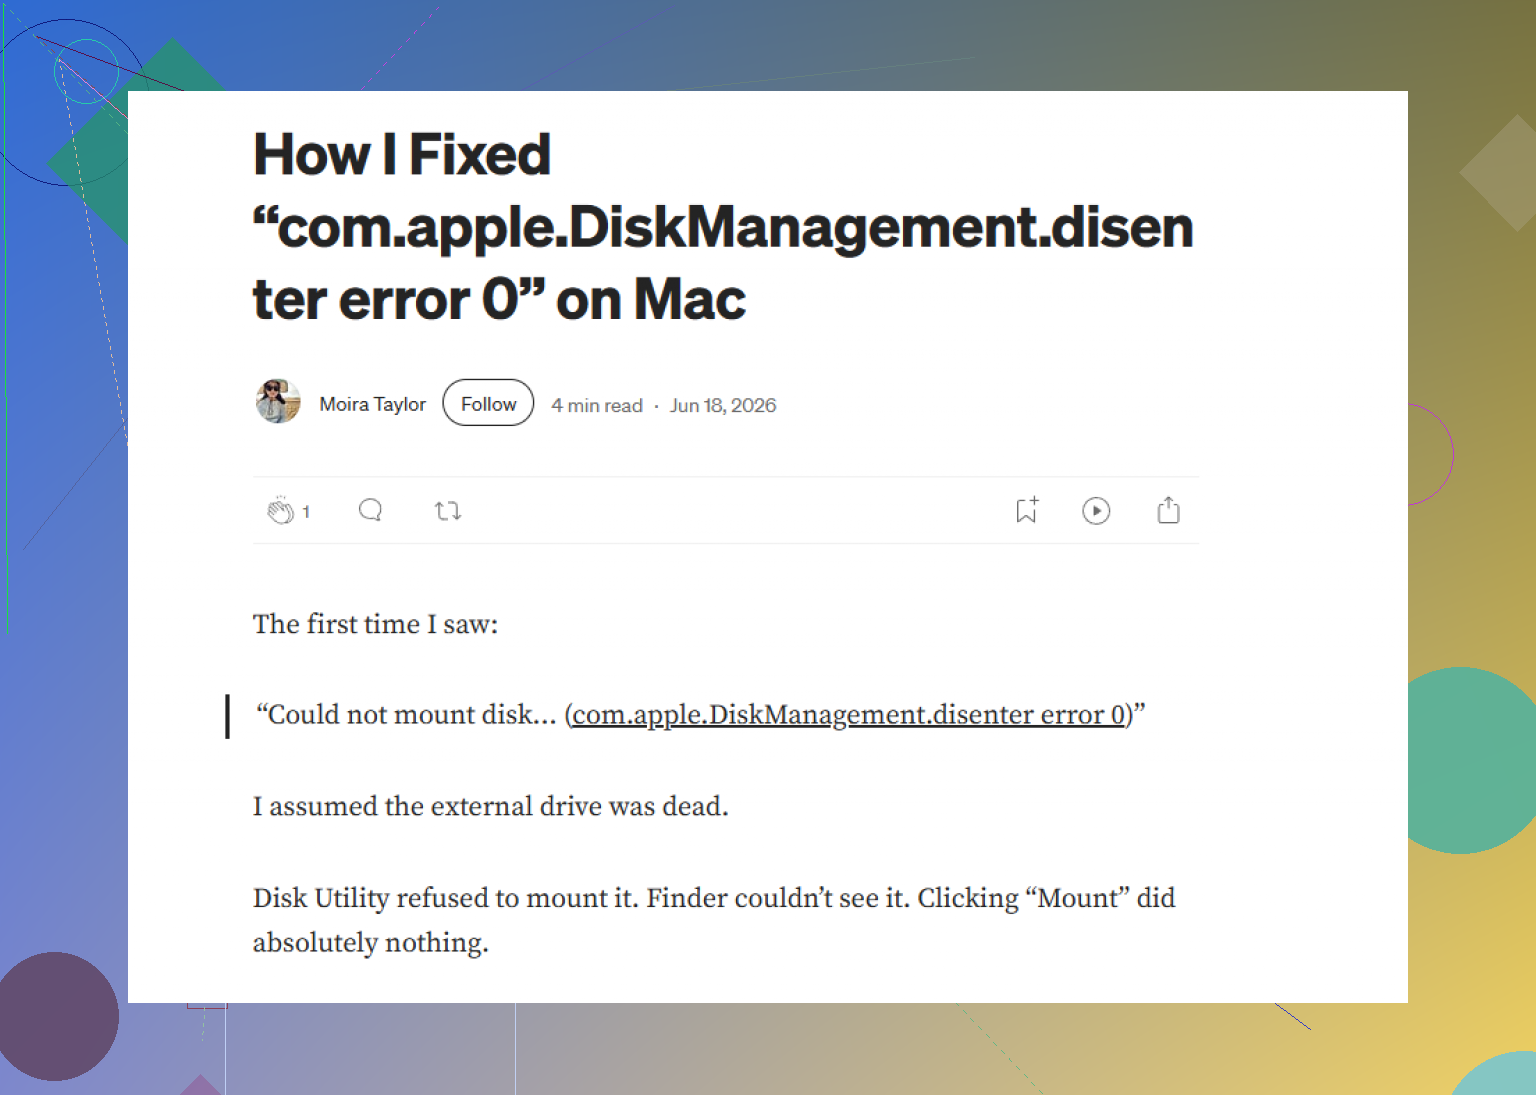
After a recent macOS update, one of my external drives stopped mounting and I keep getting the com.apple.diskmanagement.disenter error. The drive was working fine before the update, and I need help figuring out whether this is a macOS issue, a disk corruption problem, or something I can safely repair without losing data.
Drive shows up in Disk Utility, stays gray, throws Error 0
I ran into this too. The Mac saw the disk, but it would not mount, and Disk Utility kept tossing the com.apple.DiskManagement.disenter error with Error 0. What I learned the hard way is simple: the hardware is visible, the file system is not opening.
From what I saw, it usually came down to one of these:
- The drive was pulled without ejecting, so macOS marked it dirty
- The file system and newer macOS builds were not getting along
- fsck got stuck and held the disk hostage
If your files matter, I would not keep hammering Mount over and over. Start with the low-risk stuff.
1. Kill the stuck fsck process
This was the fix for me more than once.
macOS often launches fsck in the background after a rough unplug. While it runs, the drive stays locked. On some exFAT drives, and on large disks, I saw it sit there forever.
Open Terminal from Applications > Utilities and run:
sudo pkill -f fsck
Type your password and press Enter. You will not see the characters while typing. That part trips people up.
After I did this, the disk sometimes mounted right away. If it comes back read-only, copy your files off first. Don’t test your luck.
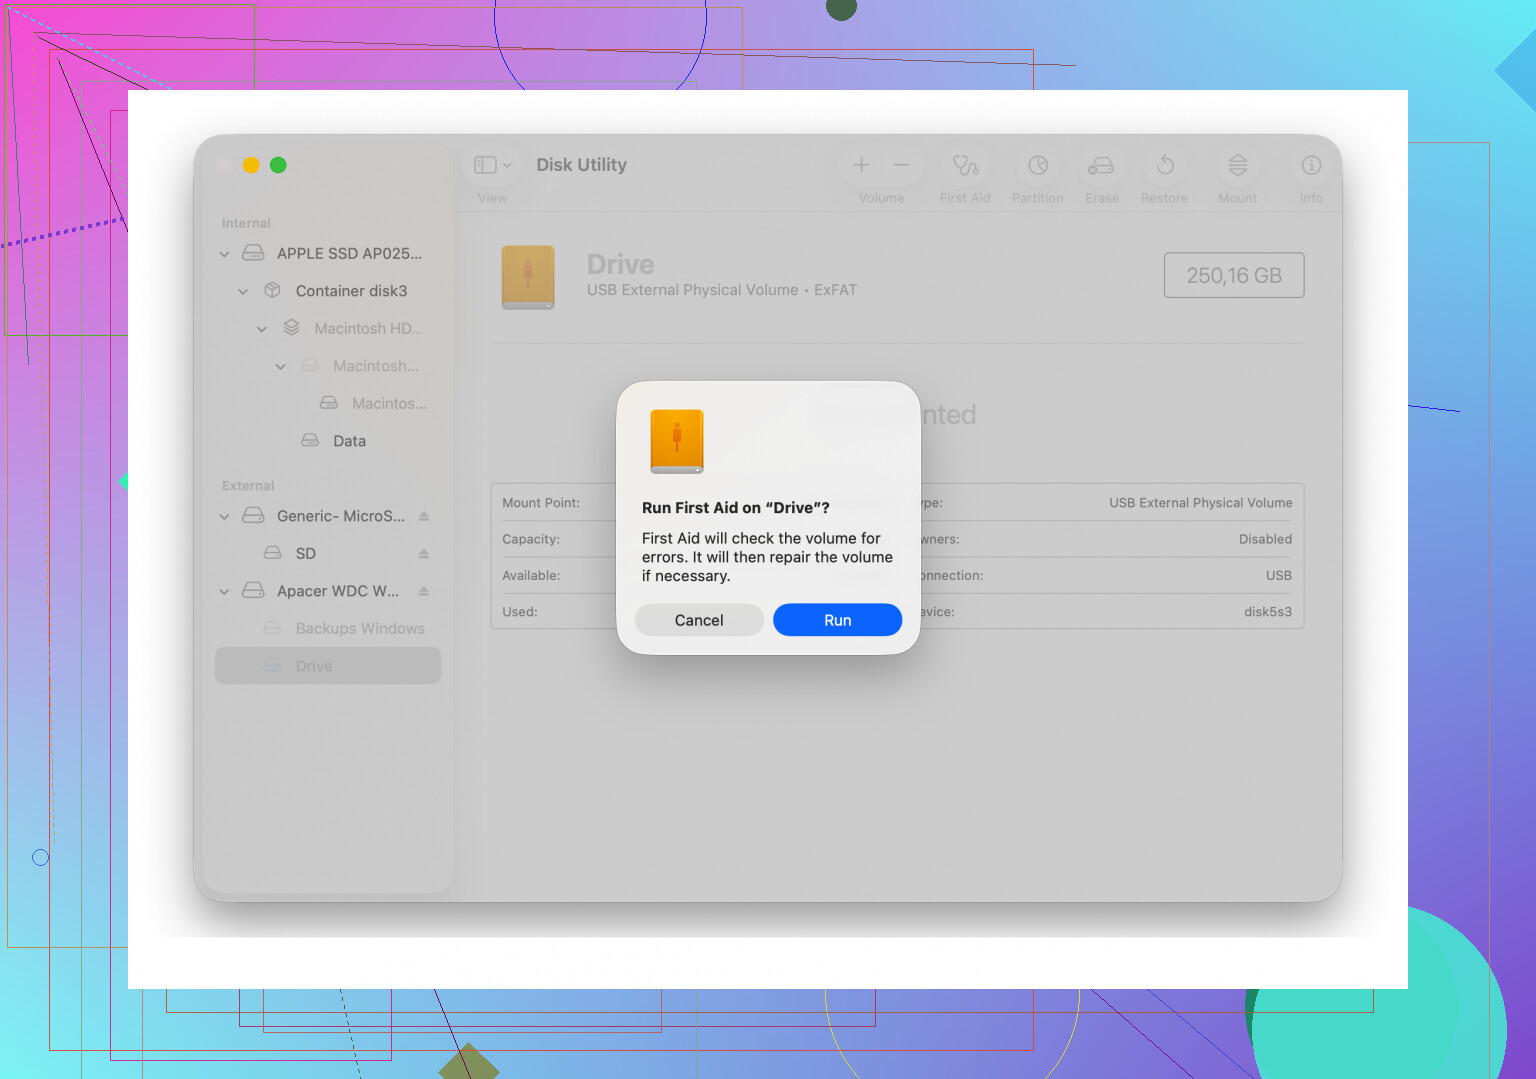
2. Run First Aid in the right order
A lot of people run First Aid only on the volume name and stop there. I had better results after showing the full device tree.
In Disk Utility:
- Open View
- Pick Show All Devices
- Select the physical disk
- Run First Aid
- Then run it on the container, if one is listed
- Then run it on the volume
I had one drive fail once, fail twice, then finally clear an error on the third pass. Feels dumb, but I watched it happen.
3. Log out, then back in
This one sounds fake. I know. Still worth trying.
On Monterey and Ventura, I saw weird DiskManagement behavior where the disk would refuse to mount in one account but appear in another. Log out of your user account and sign back in. If you have another user on the Mac, try there too.
If the drive mounts in the second account, your main account is part of the problem, permissions, cached settings, some odd preference file, who knows.
4. Check for Time Machine weirdness
If the disk was ever tied to Time Machine, the system sometimes keeps poking at it in the background.
I turned off Back Up Automatically in System Settings and had one disk mount after that. It looked like macOS had some hold on it, likely snapshots or backup-related junk.
Not a magic fix, but fast to test.
5. Stop forcing it and recover the data
If Terminal tricks do nothing and First Aid keeps returning errors, I would stop there.
Every extra mount attempt on a damaged file system is one more chance to make a bad directory worse. I learned this after pushing an old external too far and turning a small mess into a full day problem.
The safer route is to pull the data off first with recovery software. I used Disk Drill on a WD_Black that would not mount at all. macOS refused to open it, but the scan still read the raw data and rebuilt enough of the folder structure for me to grab the important stuff.
That part mattered more than getting the drive working again. Files first, repairs later.
6. Reformat only after the data is safe
Once the files are off, wipe the disk clean if you want to keep using it.
In Disk Utility:
- Select the physical drive, not only the volume
- Click Erase
- Pick a format based on how you use it
For Mac-only use:
- APFS
- Mac OS Extended (Journaled)
For Mac and Windows:
- exFAT
I would format exFAT on the Mac if the disk will live mostly with your Mac. I had fewer weird mount issues doing it there than on a Windows box.
A couple things I would not ignore
- If the drive mounts read-only, treat it like a warning and copy data off now
- Large drives, 4TB and up, take a long time with checks and repairs
- RAID does not replace backups
- Safe eject matters more than people think
That was my path through this mess. Start with fsck, then First Aid in the full device view, then account switch tests, then recovery if the errors keep piling up.
20 Likes
If the error started right after a macOS update, I’d look at the file system first, not the hardware. The drive showing in Disk Utility means the Mac still sees the device. Mount failing means macOS does not like what it reads on the volume header or partition map.
I agree with part of what @mikeappsreviewer said, but I would not jump to killing fsck first unless you confirm it is stuck. Sometimes fsck is the one thing stopping more damage.
What I’d do instead:
- Check the disk type in Terminal.
Run:
diskutil list
Then:
diskutil info /dev/diskX
Look for:
File System Personality
Partition Map Scheme
Read-Only Media
S.M.A.R.T. status, if supported
If the partition map shows as FDisk or corrupt GPT after the update, that points to metadata damage.
- Try mounting by Terminal, not Disk Utility.
Run:
diskutil mountDisk /dev/diskX
If that fails, try:
diskutil verifyDisk /dev/diskX
diskutil verifyVolume /dev/diskXsY
The exact error text matters more than Disk Utility’s gray icon.
-
Test the cable, port, and power before deeper repair.
This sounds boring, but it matters. A weak USB cable throws I/O errors that look like file system failure. I had this happen on a Seagate portable after Sonoma. New cable, drive mounted. Dumb fix, but it worked. -
If the drive is exFAT, test it on a Windows PC.
exFAT gets weird after unsafe removal or OS updates. Windows sometimes mounts an exFAT disk macOS rejects. If Windows opens it, copy your data off first. Then reformat it clean. -
If the data matters, scan before erase.
Disk Drill is worth a look here. It often reads drives macOS refuses to mount, and that gives you a path to recover files before you wipe anything. I’d do that before trying random repair commnads and making it worse.
If recovery works, then erase the whole physical disk and rebuild the partition map. A clean format often fixes the disenter mount error after update issues.
Related thread with a decent summary here:
fixing the com.apple.diskmanagement.disenter error after formatting
Short version, if the drive appears in Disk Utility, the enclosure is prbably fine. The risk is file system or partition damage. If it clicks, disappears, or disconnects mid-scan, I’d start worrying about hardware.
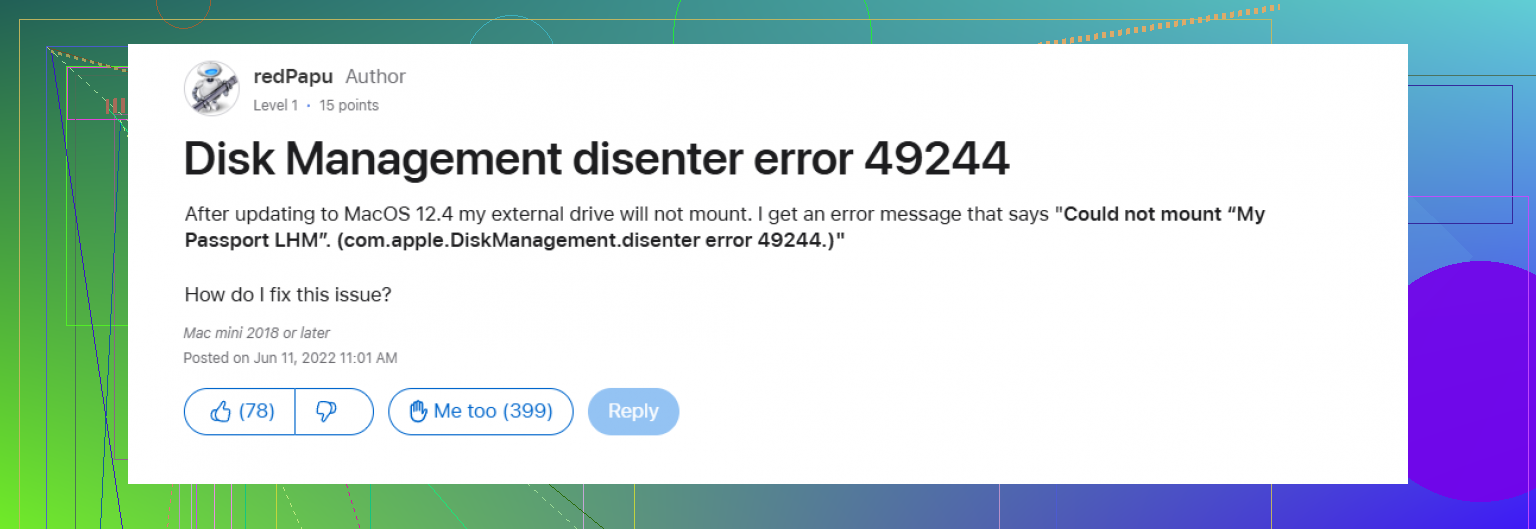
If it broke right after a macOS update, I’d also consider one thing neither @mikeappsreviewer nor @cazadordeestrellas really leaned on enough: macOS security and background disk filters can block mounts after updates, especially with old NTFS/paragon/Tuxera helpers, backup tools, or antivirus still hooking into storage.
So before doing more repair stuff, boot into Safe Mode once and test the drive there. If it mounts in Safe Mode, the disk may be fine and some third-party extension is the actual problem. That’s a very diff diagnosis from “your filesystem is toast.”
Also check this in Terminal:
log show --last 10m --predicate 'process == 'kernel' OR process == 'diskarbitrationd'' | grep -i disk
You can sometimes catch the real reason there, like unsupported filesystem driver, I/O errors, or permission denial. Disk Utility’s Error 0 is annoyingly vague.
Another thing: if the drive is in a cheap USB hub/enclosure, try a direct connection or a different enclosure. Updates sometimes change USB behavior just enough to expose flaky bridges. Seen it more than once, not even kidding.
If the files matter, I would image or scan first instead of experimenting too much. Disk Drill is solid for recovering data from an external drive that shows in macOS but won’t mount. That’s the point where I’d use it, before erase/reformat.
Also worth a read: step-by-step fix for com.apple.diskmanagement.disenter error 0 on Mac after an update
If it mounts in Safe Mode, software conflict.
If it fails everywhere but is detectable, likely filesystem/enclosure.
If it disconnects or clicks, yeah… hw issue probly.