I accidentally emptied my Windows Recycle Bin and now I need to recover some important deleted files. I haven’t saved much since then, but I’m not sure what recovery tools or steps are safest. What’s the best way to restore files deleted from the Recycle Bin?
First thing I’d do is stop using that drive as much as possible. When you delete something in Windows, even after emptying the Recycle Bin, the file usually isn’t erased right away. Windows mostly marks that space as free, which means the data may still be there until something new gets written over it.
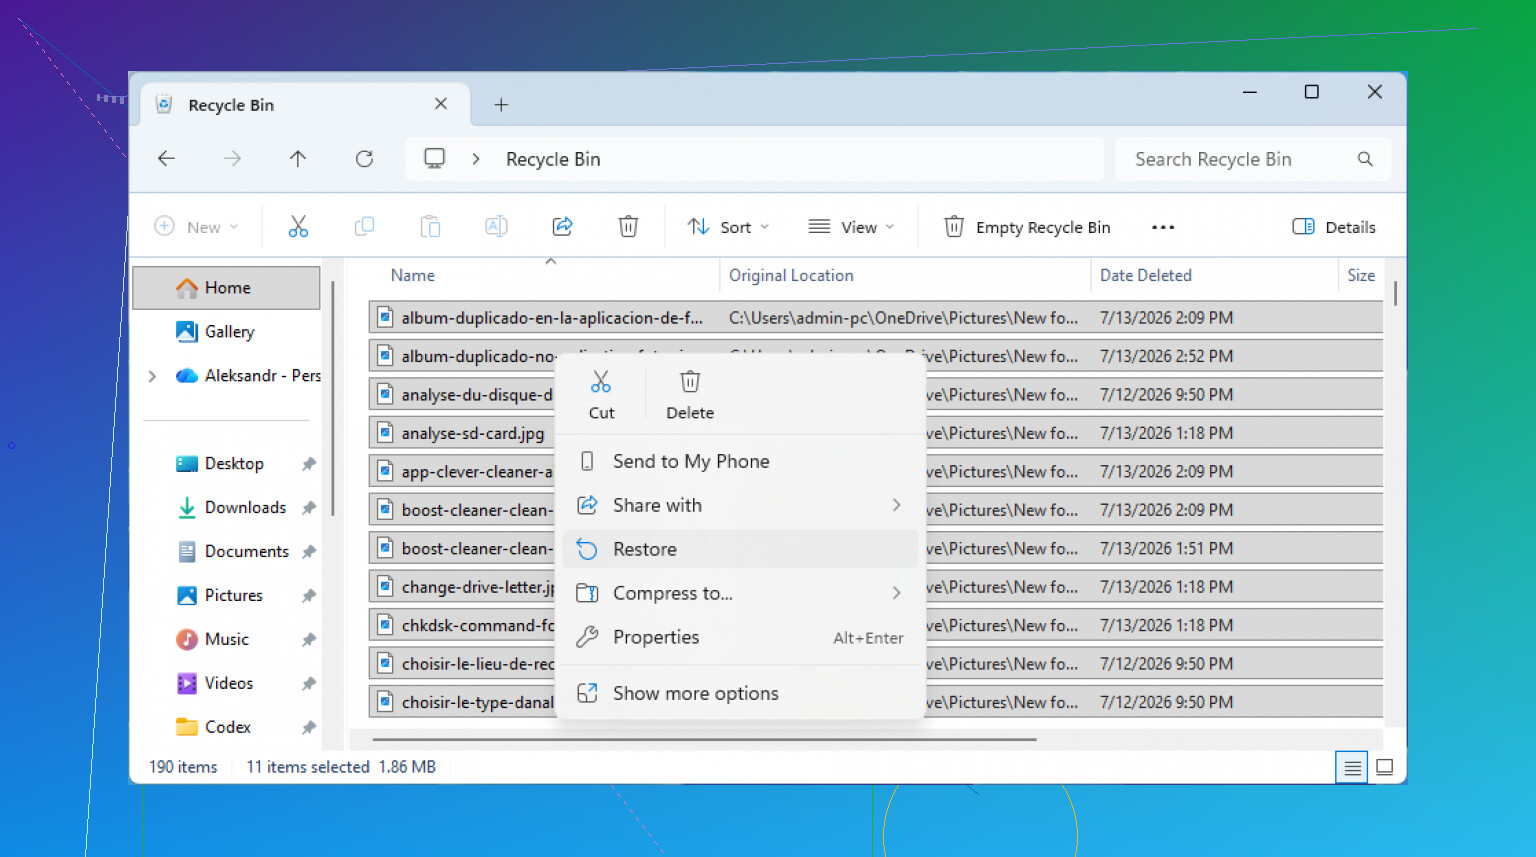
Before getting into recovery software, check the Recycle Bin again anyway. It sounds dumb, but it happens. Sometimes the file was inside a deleted folder, or the Bin wasn’t actually emptied the way you thought. Open it from the desktop, look around, and if the file is there, right-click it and choose Restore. Windows should put it back where it came from.
If the Recycle Bin really is empty, don’t download things, don’t save new files, and try not to browse from that same drive. All of that can overwrite the space where the deleted file is still sitting.
If you had Windows backups turned on, check File History first because that’s the easiest fix without installing anything. Go to the folder where the file used to be, right-click it, and choose Restore previous versions. From there, you can look through older versions of that folder and copy the missing file back out.
You can also get to it through Control Panel > System and Security > File History, then choose Restore personal files if you want to browse the backups that way.
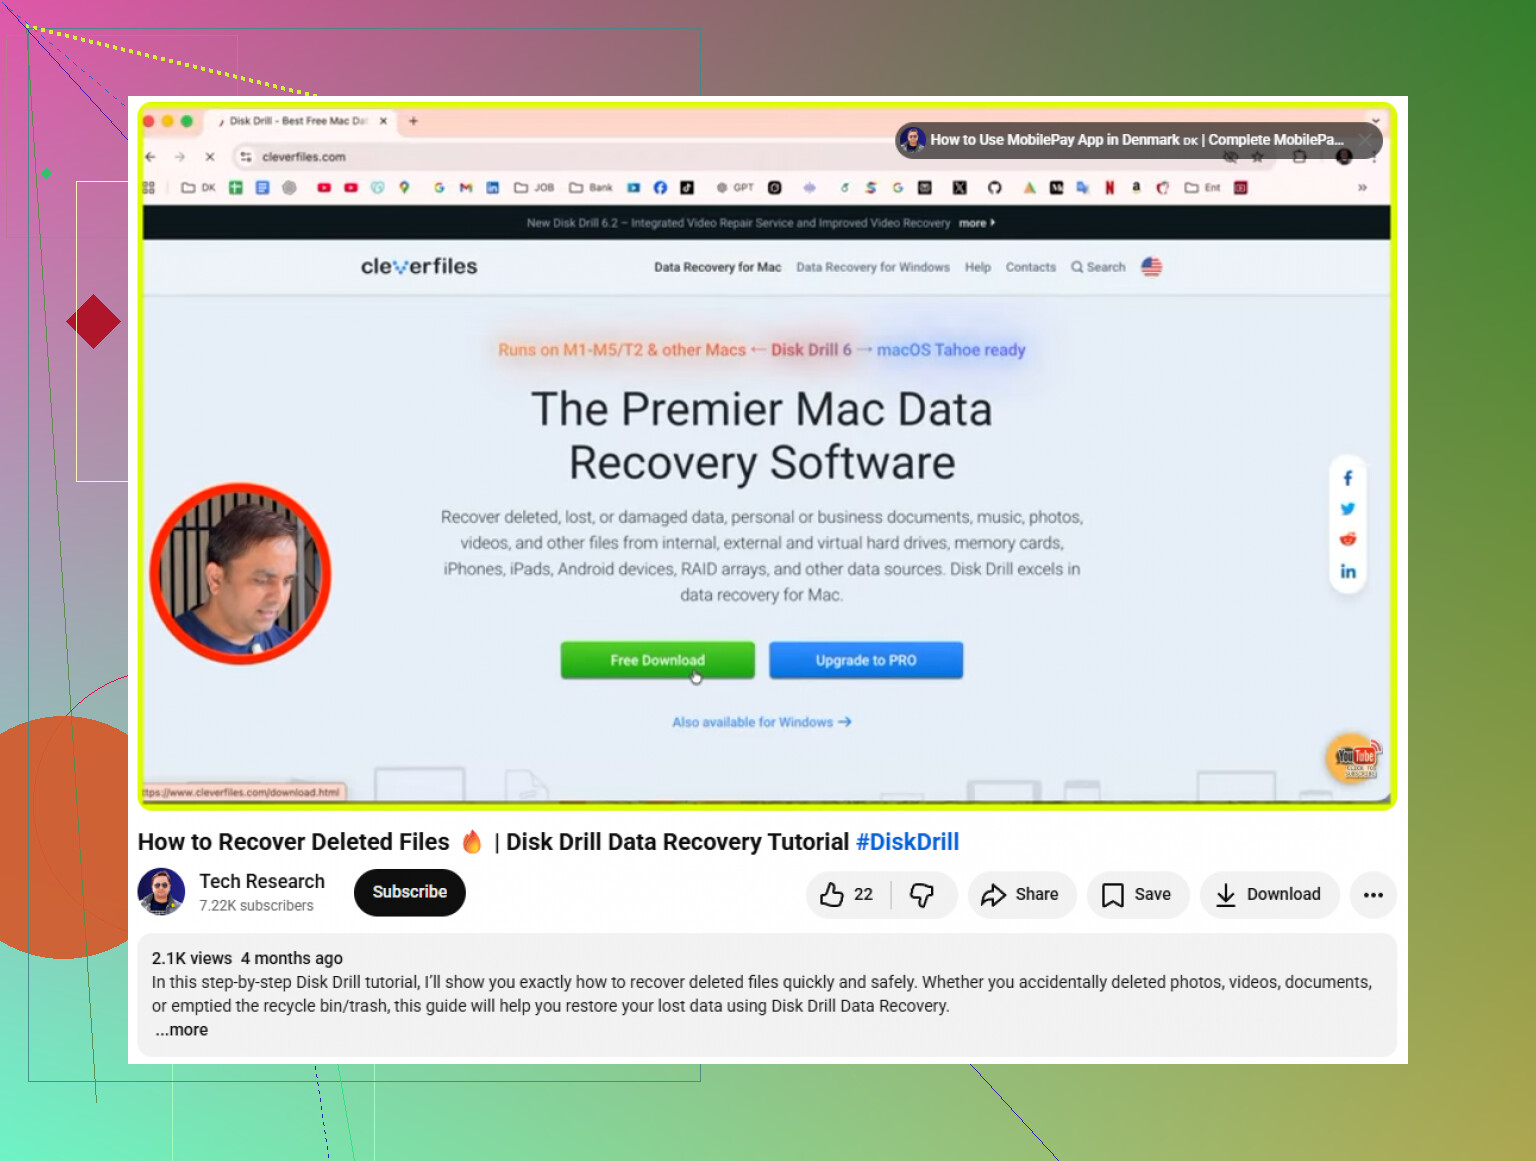
If there’s no backup, I’d use Disk Drill. It’s usually the recovery tool I’d point someone to because it’s not too hard to use, but it still handles a lot of file systems like NTFS and FAT32. It can recover common stuff like photos, videos, and documents too.
The important part is where you install it. If the missing files were on your C: drive, don’t install Disk Drill there. Put it on a USB drive or an external drive instead, because installing recovery software on the same drive can overwrite the exact files you’re trying to get back.
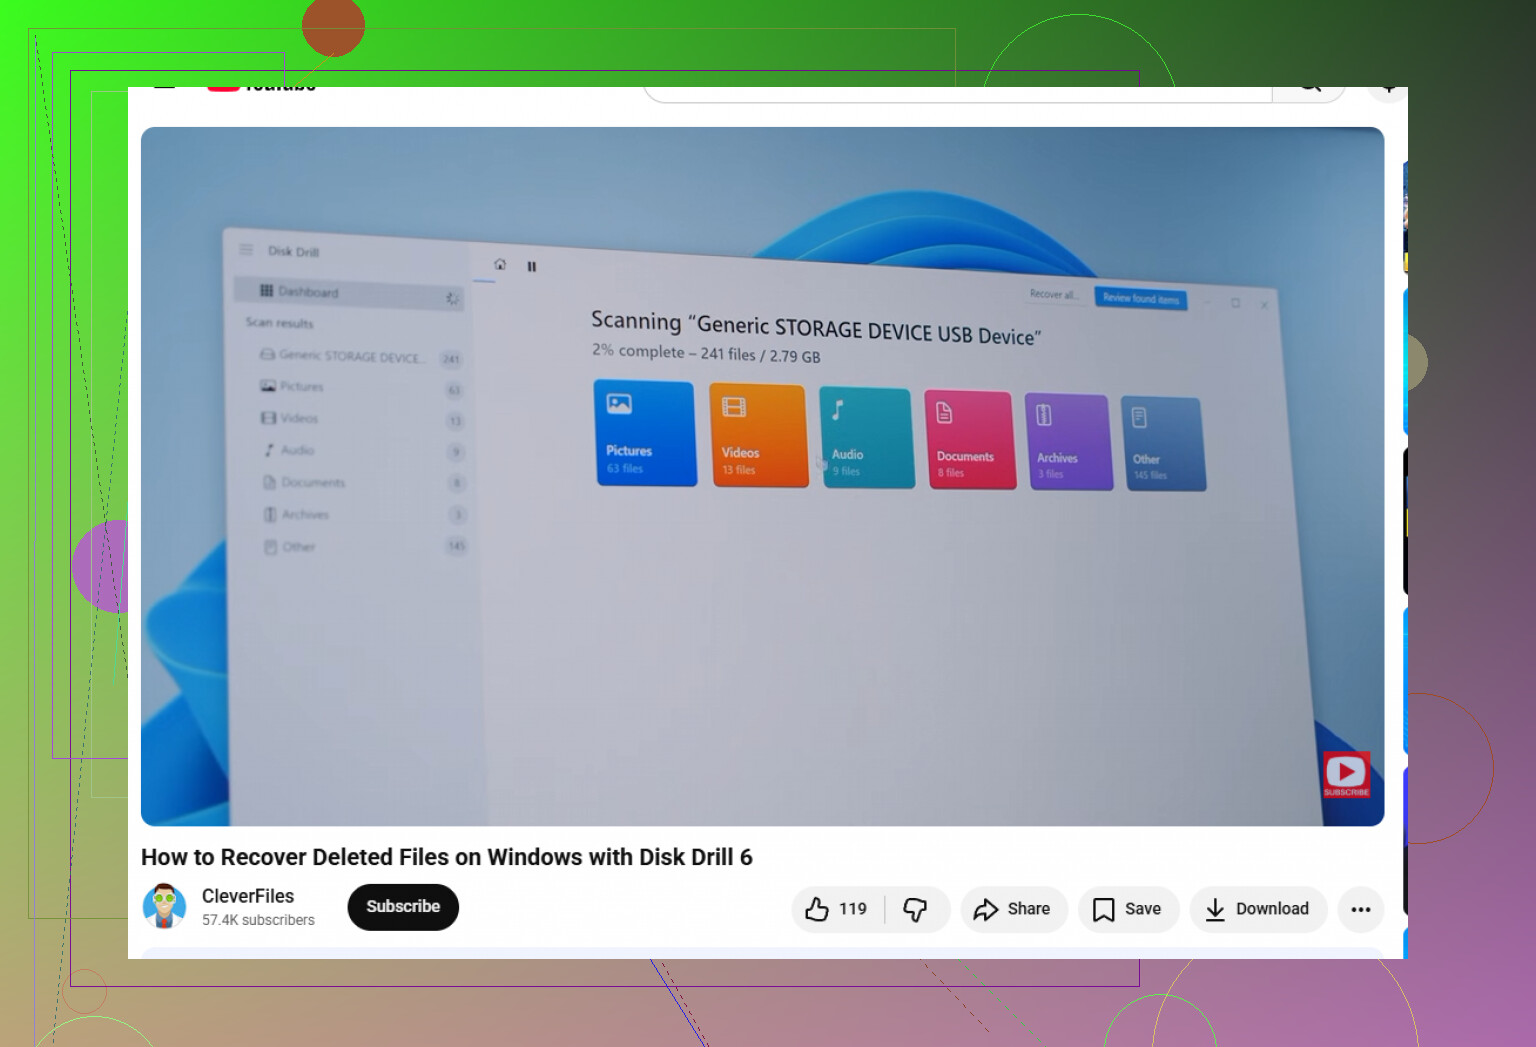
Once it’s installed, open Disk Drill, pick the drive where the deleted files were stored, and click Search for lost data. Let it scan. The deep scan can take a while, but it’s worth letting it run if the normal scan doesn’t find what you need.
As results show up, use the preview option. If a photo or document previews correctly, that’s usually a good sign it can be recovered properly. Select the files you want, hit Recover, and save them somewhere else, like an external hard drive. Don’t recover them back onto the same drive.
The Windows version also lets you recover up to 100MB for free, so if you only need a few small files, that may be enough.
One catch: if the deleted files were on an SSD, recovery can be harder because of TRIM. That feature clears deleted blocks to keep the SSD running well, but it also means deleted files may disappear much faster. So if the files matter, stop using the PC and run the recovery scan as soon as you can.
11 Likes
Don’t run Disk Cleanup, defrag/optimize, CHKDSK repairs, or any “PC cleaner” on that drive right now. @mikeappsreviewer is right about avoiding new writes, but those maintenance tools are easy to forget and can make recovery worse. If the files are irreplaceable, shut the PC down and scan the drive from another computer or bootable USB instead of experimenting inside Windows.
If the files were in a OneDrive-synced Desktop or Documents folder, don’t start with recovery software yet. Check the online OneDrive Recycle Bin first from a browser. Same idea if the folder was synced with Google Drive, Dropbox, iCloud, or a work/school account. A lot of people think they deleted something “from the PC” when the easiest copy is sitting in the cloud trash for a while.
After that, I’d split this into two cases.
If the deleted files were on an external hard drive, USB stick, or old-style spinning hard drive, recovery software has a fair shot as long as you stop writing to it. In that case, scanning with something like Disk Drill is reasonable, but save the recovered files to a different drive. Don’t recover them back to the same disk you’re scanning. That mistake can ruin the rest of the recoverable files.
If they were on the internal C: drive, especially an SSD, I’d be more cautious than “install a tool and scan.” Windows is constantly writing logs, browser cache, updates, thumbnails, search indexes, and other junk in the background. Even if you personally “haven’t saved much,” the system may still be using that space. That’s why the advice above about avoiding new writes matters.
For important stuff, the safer workflow is:
- Shut the computer down.
- Remove the drive or boot from a separate recovery USB.
- Scan the affected drive without installing anything onto it.
- Recover to an external drive.
- If the data is critical, make an image/clone first and work from the copy.
That last part is the thing people skip. A recovery scan is usually read-only, but if the drive is failing or the file system is messy, repeated scans can make the situation worse. Having an image gives you a second chance. If this is tax records, client work, family photos, or anything you can’t recreate, don’t treat the original drive like a practice project.
I’d also check boring places before doing a deep scan: Recent files in Office, OneDrive version history, email attachments, Downloads, temp export folders from the app that made the file, and any backup drive that was plugged in recently. Sometimes the “lost” document was copied somewhere else and the deleted one was just an older duplicate.
About Disk Drill specifically, it’s fine as a user-friendly option, but don’t assume the preview list means every file will open perfectly. A filename showing up only means the tool found a record or signature. The preview is the better sign. If the preview is broken, the recovered file may be corrupted too, especially with large videos, ZIP files, databases, or project files.
If you try a free tool first, be careful where you install it and where it writes output. The tool choice matters less than not writing to the affected drive. Downloading three different recovery apps onto C: because the first one didn’t work is a great way to make the second and third one useless.
So the short version: check cloud trash and backups first, then scan from outside the affected drive, recover to another disk, and lower expectations if it was an SSD with TRIM. If the files are worth real money or cannot be replaced, stop now and use a data recovery shop instead of experimenting.