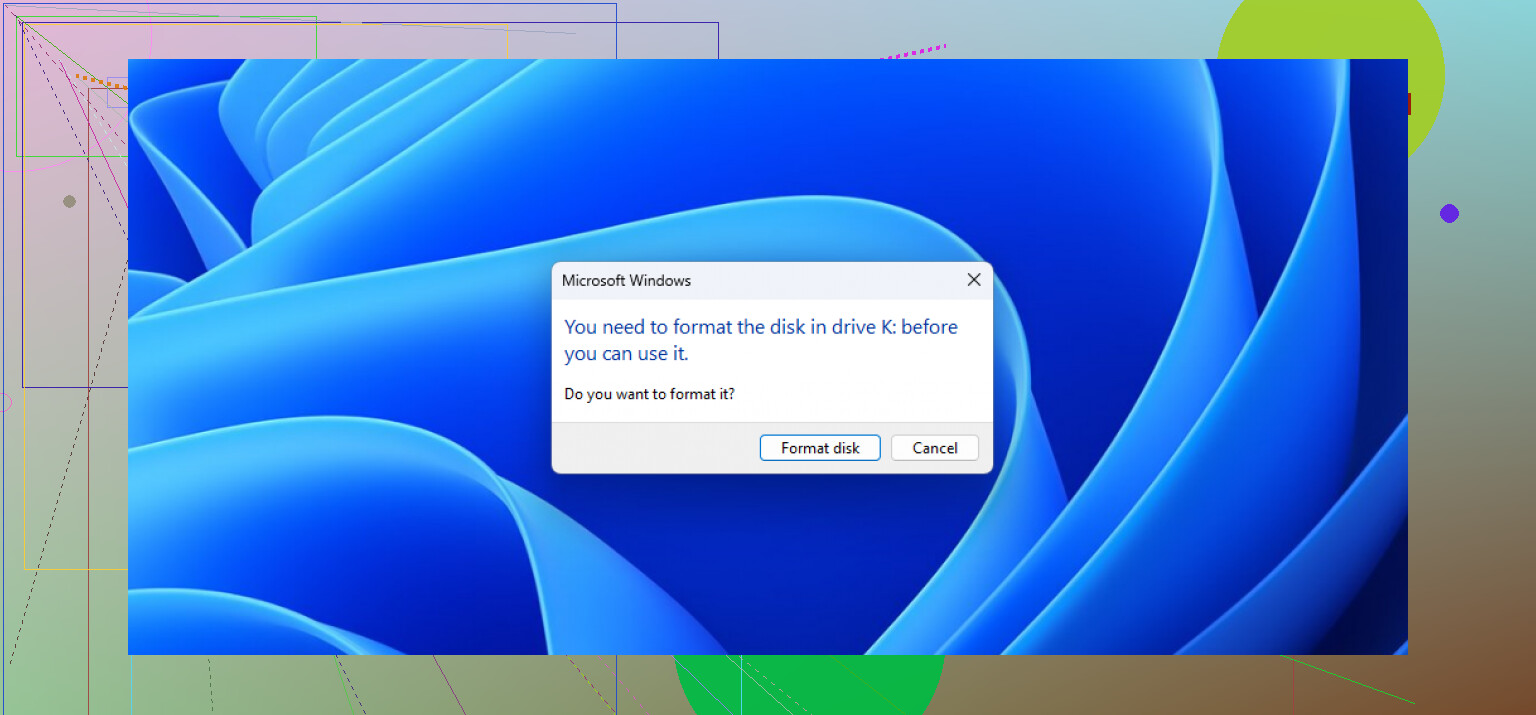
My USB drive suddenly says it needs to be formatted before I can use it, but it contains important files I can’t lose. How can I recover the data safely without formatting the drive or overwriting anything?
Don’t format the USB yet. That Windows message usually means the file system is corrupted or unreadable, not that every photo, document, and video has disappeared. I’ve run into this more than once, often after a drive lost power or was unplugged while it was still working.
The safest order is to recover the files first, then format the drive afterward. Formatting now can overwrite file system information and make recovery more difficult.
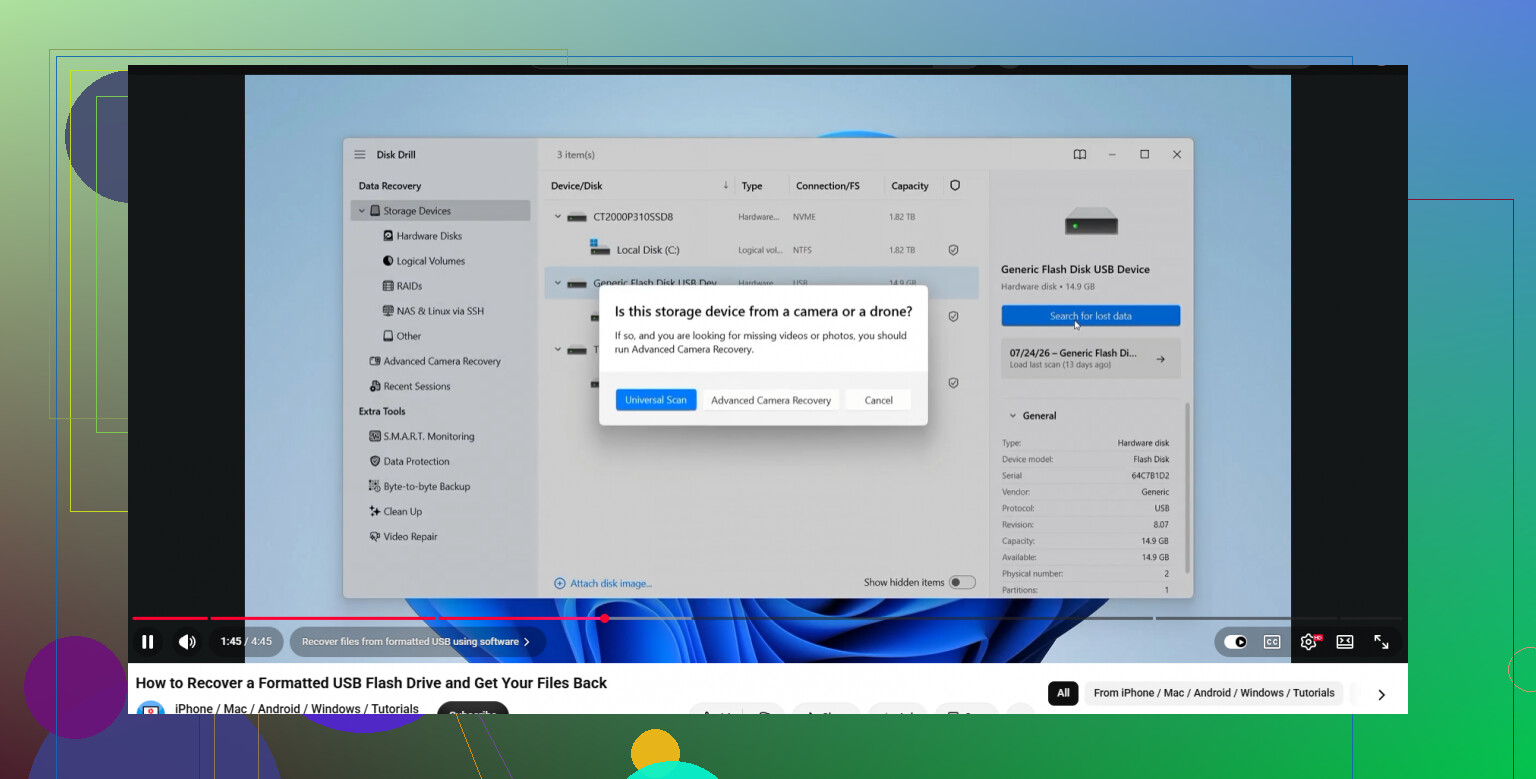
I use Disk Drill for this. Before scanning, I’d make a byte-to-byte backup of the USB using its built-in backup feature. A format warning can sometimes point to bad blocks or failing hardware, so repeatedly scanning the physical drive may put more stress on it. Once the image is created, use “Attach Disk Image” and scan that copy instead.
Select the USB or attached disk image, then click “Search for lost data.” Let the Universal Scan finish if possible. It looks for file signatures rather than relying only on the damaged file system, so it can still find files when the drive appears as RAW or corrupted. It supports roughly 400 file types, including common photos, documents, and video formats.
You can also click “Review found items” before the scan is complete. The results are grouped into categories such as Pictures and Documents. Use the eye icon to preview important files. If a photo or document opens correctly in the preview, that’s a good sign the recovered copy will be usable.
Choose what you need and click “Recover.” Save everything to another device, such as your computer’s internal drive. Do not recover the files back onto the damaged USB because that can overwrite other data you still want to retrieve.
After you’ve confirmed that the recovered files are safely stored on your computer, you can format the USB and set it up again with exFAT or NTFS. That recovery-first, format-second approach takes a little longer, but it gives you a much better chance of getting the data back before making changes to the drive.
13 Likes
Check Disk Management first: if the USB shows “No Media,” 0 bytes, or the wrong capacity, recovery software probably won’t help because the controller may have failed. If the correct capacity appears, avoid CHKDSK and other “repair” commands since they can modify the damaged file system before your files are copied.
Don’t keep plugging the stick into different computers hoping one of them will magically open it. If it disconnects during reads, becomes unusually hot, or appears with a different capacity each time, stop using it. Those signs point more toward hardware failure, and repeated scans can make the situation worse.
@jack41’s capacity check is the useful dividing line. If Windows shows the correct size and the connection stays stable, create an image first, then scan the image with Disk Drill, PhotoRec, or similar software. PhotoRec is free, but it often recovers files without their original names and folder structure. Whatever tool you choose, install it on the computer and save recovered files to a separate drive.
If the USB shows 0 bytes or “No Media,” software cannot read the memory behind the failed controller. For genuinely irreplaceable files, that is where DIY attempts should end and a recovery lab becomes the realistic option.
A disk image needs free space equal to the USB’s full capacity, not merely the amount of data you remember storing on it. A 256 GB stick may require roughly 256 GB of free space for the image, plus additional room for the recovered files. Plan the destination before starting so the process does not fail halfway through.
The correct-capacity check mentioned by @jack41 is the first useful test. If Windows sees the expected size and the device stays connected, make a sector-by-sector image. If reads are slow or produce errors, a tool designed to skip damaged areas and return to them later, such as GNU ddrescue, is preferable to dragging files in Explorer. Explorer can repeatedly stall on the same unreadable sector and is not a substitute for imaging.
Once you have the image, keep an untouched copy if storage allows. Perform recovery attempts on a duplicate. That gives you somewhere to restart if a repair utility changes the file system metadata or makes the image mountable but loses some directory information.
I would try file-system-aware recovery before jumping straight to file carving. TestDisk, for example, may be able to locate the old partition or display files from the damaged volume. If it can list them, copy the files to another disk without writing any proposed partition changes back to the USB. This route has a better chance of retaining filenames, dates, and folders. PhotoRec and signature-based scans are the fallback when that structure is too damaged, but the output can be thousands of generically named files that need sorting manually.
There is another edge case people forget: encryption. If the USB was protected with BitLocker or another encryption tool, raw carving generally will not produce usable documents because the file contents remain encrypted. Preserve the recovery key, password, and any BitLocker metadata you have. Do not assume recovery software can bypass missing encryption credentials.
After copying the data, open a representative sample instead of trusting the filenames alone. Check several large videos, archives, PDFs, and photos from different folders. A directory entry can survive even when part of the actual file is unreadable. Only erase or reformat the USB after the important recovered copies have been verified and backed up somewhere else. If the stick produced read errors in the first place, I would replace it rather than trust it again.
If the USB was created or last used on a Mac, Linux computer, NAS, or another device, Windows may be asking to format it simply because it cannot read that file system. Click Cancel. Try it on the original machine or device before treating the drive as damaged.
If the files appear there, copy them straight to a different disk and verify a few of them. Do not convert, repair, or reformat the USB while it still holds the only copies. I would avoid installing random file-system drivers in Windows too, since a buggy driver can turn a readable volume into a real recovery job.
If the original system cannot read it either, then @jack41’s capacity check becomes important. Correct size and a stable connection usually mean software recovery is still reasonable. Make an image and work from that rather than experimenting on the USB itself. If the drive vanishes, reports 0 bytes, or repeatedly reconnects, stop before it deteriorates further.
Keep the original USB untouched until you have opened the recovered documents, photos, archives, and videos from another drive. A recovery program listing a filename does not prove the entire file survived. Once the important copies are confirmed and backed up, replace the stick rather than trusting it again.
Skip the temptation to hit ‘Scan and fix’ when Windows nags you with that popup a second time. That little prompt is not a repair, it runs the same logic as CHKDSK and can rewrite the file table before you’ve grabbed anything.
Before anyone images the drive, try the boring stuff. Different USB port, straight into the back of the desktop, no hub, no extension cable. Flaky format prompts sometimes come from a bad port or a half-dead cable rather than the flash itself. If the volume suddenly mounts fine on another port, copy your files off immediately and don’t celebrate until they open.
I’ll push back a little on the always-make-a-full-image advice from @0xdaemon5. It’s correct for a stick that’s throwing read errors or acting hot, but for a plain ‘needs formatting’ message on a drive that still reports the right capacity and stays connected, dragging a byte image of a 128 or 256 GB stick just to run a scan is a lot of effort most casual users won’t finish. If the connection is stable, TestDisk reading the volume directly is often enough to list the old files and copy them out, filenames intact. Image first only when the drive is clearly sick.
Disk Drill coming up earlier makes sense as a point-and-click option if TestDisk’s interface scares you off, just remember the free version mostly previews and caps how much it actually recovers, so don’t be surprised when it asks for a license at the copy step. Whatever you land on, verify a few real files from another drive before you reformat. A listed filename means nothing until the thing actually opens.
Do not click Format, Initialize, or Scan and fix, even if Windows keeps offering. If the USB reports its normal capacity and stays connected, @brightgurux’s direct TestDisk approach is reasonable, but copy the hardest-to-replace files first instead of trying to rescue everything in one pass. Save them to a different physical drive and open the copies before continuing. If the stick starts disconnecting, heating up, or slowing to a crawl, stop the direct recovery and make an image with a tool that can skip read errors. A failing flash drive may give you only a limited amount of readable time, so family photos and original documents should come before replaceable installers, movies, or music.