So you’ve switched to a Mac and need help with OneDrive? No worries, getting OneDrive up and running on macOS might be a bit different than what you’re used to. Here’s a step-by-step guide on how to add OneDrive on Mac:
-
Download OneDrive:
Head over to the OneDrive website and download the Mac version. -
Install the App:
Once downloaded, open the .dmg file and drag OneDrive to the Applications folder. Follow the on-screen instructions to complete the installation. -
Sign In:
Launch OneDrive from your Applications folder. Sign in with your Microsoft account. You’ll be prompted to set up OneDrive on your Mac. -
Set Up Your Folder:
During the setup, you’ll choose where to place your OneDrive folder. This is where all your synced files will live. It’s usually defaulted to your user folder. -
Adjust Sync Preferences:
A key part of using OneDrive effectively is managing what to sync. Click on the OneDrive icon in your menu bar, go to ‘Preferences,’ and select which folders you’d like to always be available offline. -
Managing Files:
Drop files into your OneDrive folder like you would with any other folder on your Mac. These files will sync to the cloud automatically. -
Check Sync Status:
You can check the status of your files right from the menu bar icon.
One common issue people encounter is slow syncing or files not appearing on all devices. Make sure you have a stable internet connection and that you are signed into the same Microsoft account across all devices.
If you’re looking for something more robust than OneDrive’s built-in functionality, CloudMounter is a fantastic app for managing cloud storage services right from your Mac. This tool is a handy tool that lets you mount popular cloud services as if they were external drives right on your Mac. For OneDrive users, this means you can open Finder and browse your files and folders just like you would with anything stored locally—no jumping through web browsers required.
The best part? You can connect OneDrive with CloudMounter for free. That gives you the freedom to mount and unmount your cloud accounts whenever you need, all from one place, without paying a dime. Of course, there’s a paid version if you want access to a full suite of extra features, but for OneDrive specifically, the free option covers the essentials.
On top of that, CloudMounter adds another layer of protection with built-in cloud storage encryption, keeping your data secure while you work. And since the app integrates directly into Finder, pulling up files stored on OneDrive feels fast and seamless.
Here is how to mount OneDrive on Mac with CloudMounter
Just follow these steps, and your OneDrive cloud storage will be added to Finder:
-
Set up the desktop app on your Mac.
-
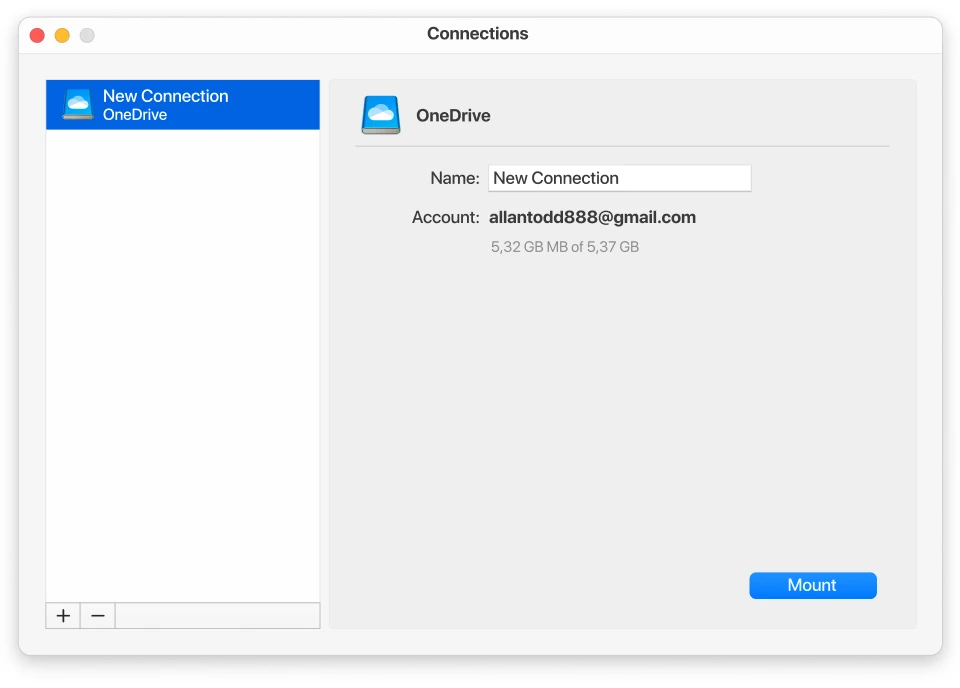
Open the application and select OneDrive in the connections box.
-
Log into your Microsoft OneDrive account in the authorization window, and click the “Mount” button.
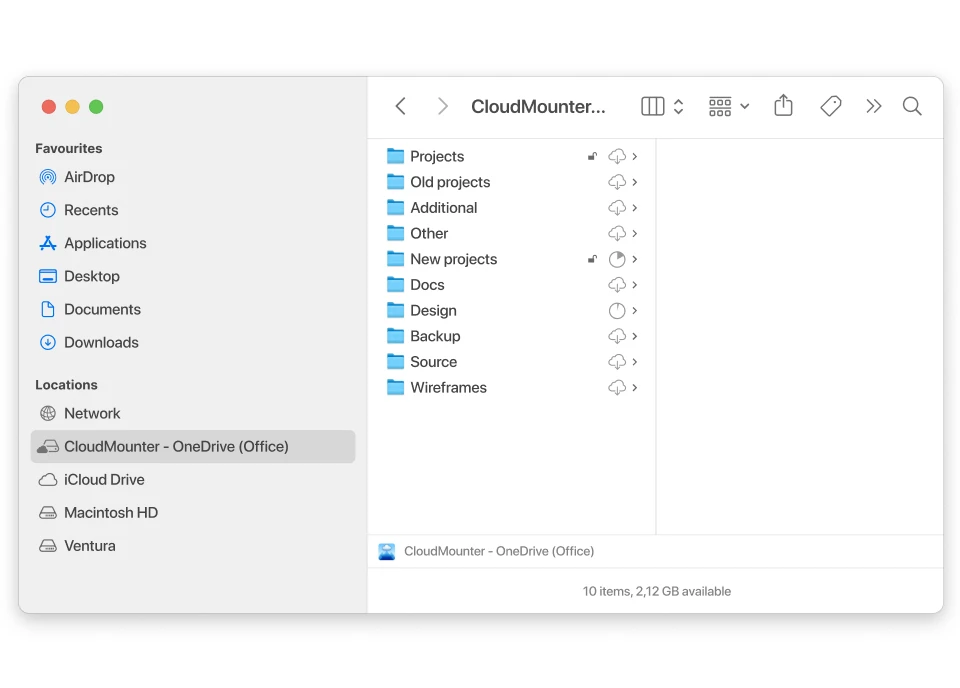
-
Your OneDrive will be displayed in Finder, so you can use OneDrive on your Mac.
For further detailed steps and troubleshooting tips, check out this discussion on OneDrive setup for Mac users: how to use OneDrive on Mac.
Hope this helps! Let us know if you hit any roadblocks.